Head Gasket Integrity Assessment in 2004–2008 Mazda6 2.3L Four-Cylinder Variants
If you own a 2004–2008 Mazda6 powered by the 2.3-liter MZR inline-four, you’re sitting behind a genuinely robust engine—but one that isn’t immune to head gasket deterioration as the miles climb. We’ve seen these motors run past 250,000 miles without issue, and we’ve also seen head gaskets fail at 110,000. The difference almost always comes down to cooling-system maintenance and how quickly an owner catches the early warning signs.
This article walks you through a complete head gasket integrity assessment using two core diagnostic methods: compression/cylinder leak-down testing and cooling-system pressure testing. Both can be performed in a home garage with modest tool investment, and both will tell you—long before catastrophic failure—whether your MZR is holding its seal or quietly bleeding combustion gases into the coolant passages.
Understanding the 2.3L MZR and Its Head Gasket Vulnerabilities
Engine Architecture Overview
The L3-VE (2.3L MZR) is an aluminum-block, DOHC, 16-valve inline-four with Mazda’s Sequential Valve Timing (S-VT). It shares its fundamental architecture with the Ford Duratec 23 and was used across the Mazda3, Mazda6, Tribute, and even the first-generation CX-7 (in turbocharged form). Key specifications:
| Specification | Detail |
|---|---|
| Displacement | 2,261 cc |
| Bore × Stroke | 87.5 mm × 94.0 mm |
| Compression Ratio | 10.6:1 |
| Output | 156–160 hp @ 6,500 rpm |
| Torque | 148–155 lb-ft @ 4,500 rpm |
| Head Material | Aluminum alloy |
| Block Material | Aluminum alloy with cast-iron cylinder liners |
| Head Gasket Type | Multi-layer steel (MLS) |
The MLS gasket is durable by design, but the long stroke (94 mm) creates substantial thrust forces on the cylinder walls, and the aluminum-on-aluminum construction means both surfaces expand and contract at the same rate—leaving less margin for error if the gasket begins to degrade.
Why These Gaskets Fail
In the 2004–2008 Mazda6 specifically, we see three recurring root causes:
-
Coolant neglect. The MZR uses FL22 coolant (green, phosphate-free). When owners switch to generic green coolant or skip flush intervals, electrolytic corrosion attacks the gasket’s steel layers from the inside out.
-
Overheating events. A failed thermostat, leaking radiator, or bad water pump can push temperatures past 230°F. Even a single severe overheat can warp the aluminum cylinder head enough to crush the fire ring on the MLS gasket.
-
Improper torque during previous service. If someone removed the cylinder head for a timing chain service or valve seal replacement and didn’t follow Mazda’s precise three-stage torque sequence (plus 90° turns), the clamping load becomes uneven, creating hot spots for gasket failure.

Early Warning Signs During Routine Self-Inspection
Before you reach for a compression gauge or pressure tester, your own eyes and nose can tell you a lot. Here’s what we look for on every 2.3L Mazda6 that rolls into the shop:
Under the Hood
- Milky residue on the oil filler cap. A light, tan-colored sludge that looks like coffee with too much cream is a classic indicator of coolant mixing with oil. A tiny amount of condensation in cold weather is normal; thick, persistent mayo is not.
- Sweet smell from the exhaust. Ethylene glycol has a distinctly sweet odor. If you smell it at the tailpipe—especially after the engine is fully warmed up—combustion gases are likely pushing coolant through a compromised gasket.
- Bubbles in the radiator or overflow tank. Start the engine cold with the radiator cap off. If you see steady streams of small bubbles rising through the coolant within the first few minutes, combustion pressure is escaping into the cooling system.
- White smoke from the exhaust. Not the light vapor of normal cold-start condensation—this is thick, persistent white smoke that smells sweet and lingers in the air. It means coolant is entering the combustion chamber.
At the Dashboard
- Temperature gauge fluctuations. The Mazda6’s gauge is dampened, so if you see the needle moving at all beyond its normal mid-range position, the engine has already experienced significant thermal swings.
- Check engine light with misfire codes. P0301 through P0304 (cylinder-specific misfires) or P0300 (random misfire) can indicate coolant fouling a spark plug. P0115 or P0125 (coolant temperature sensor codes) sometimes accompany gasket failures.
- Low coolant light without visible external leaks. If you’re topping off the reservoir every few weeks and can’t find a drip anywhere, the coolant may be going somewhere internal.
PRO TIP: “Pull the spark plugs and examine them carefully before performing any pressure testing. A spark plug from a cylinder with a leaking head gasket will often look steam-cleaned—almost white at the porcelain tip—compared to the normal tan or light brown of the other cylinders. This five-minute check can immediately narrow your diagnosis to a specific cylinder.”
Diagnostic Procedure 1: Compression and Leak-Down Testing
Tools Required
| Tool | Approximate Cost (USD) |
|---|---|
| Compression tester kit (threaded, not push-in) | $30–$60 |
| Leak-down tester (dual-gauge) | $60–$120 |
| Air compressor (minimum 90 PSI) | $100–$300 (if you don’t own one) |
| Spark plug socket (5/8”) | $5–$10 |
| Torque wrench (ft-lb) | $30–$80 |
| Shop rags and safety glasses | $10 |
Step 1: Preparation
- Warm the engine to full operating temperature (cooling fans cycle on at least once). A warm engine provides more accurate compression readings because rings and cylinders have expanded to their running clearances.
- Disable the fuel and ignition systems. Pull the fuel pump relay (located in the fuse box under the hood) and disconnect the primary ignition coil connector. This prevents fuel spray and spark during cranking.
- Remove all four spark plugs. Label them by cylinder number (1 is nearest the timing chain cover, 4 is at the transmission end). Inspect each plug as described in the pro tip above.
Step 2: Compression Testing
- Thread the compression gauge into cylinder 1. Finger-tighten, then give it a snug 1/8 turn with the wrench—don’t overtighten.
- Have an assistant crank the engine with the throttle wide open (depress the accelerator pedal fully). Count at least five compression strokes per cylinder.
- Record the peak reading. Repeat for cylinders 2, 3, and 4.
Interpreting Results for the MZR 2.3L:
| Condition | Reading (PSI) | Action |
|---|---|---|
| Healthy | 175–210 PSI, all within 10% of each other | Gasket likely intact; proceed to cooling-system test if suspicion remains |
| Borderline | 150–174 PSI, spread up to 15% | Perform leak-down test to pinpoint the cause |
| Failed | Below 140 PSI on one or two adjacent cylinders | Strong head gasket failure indicator—adjacent cylinder drops are the classic signature |
| Uniformly low | All cylinders 120–140 PSI | Likely worn rings or valve seal issues, not necessarily a head gasket problem |
PRO TIP: “The ‘adjacent cylinder’ rule is critical for the MZR 2.3L. Cylinders 2 and 3 share the thin bridge of aluminum between them—this is the thinnest section of the fire deck and the most common spot for gasket failure. If cylinders 2 and 3 both read 40+ PSI lower than 1 and 4, you’re almost certainly looking at a blown gasket between those two bores.”
Step 3: Leak-Down Testing (Confirming the Diagnosis)
A compression test tells you that there’s a problem; a leak-down test tells you where.
- Bring cylinder 1 to Top Dead Center (TDC) on the compression stroke. Both valves must be fully closed. Remove the cam cover if needed to verify, though the MZR’s timing marks on the cam sprockets make this straightforward.
- Connect the leak-down tester to your air compressor. Calibrate the regulator so the input gauge reads exactly 100 PSI.
- Thread the tester’s adapter into the spark plug hole. Note the percentage on the second gauge—this is your leak-down percentage.
- Listen carefully for escaping air:
- Hissing at the oil filler cap → Leakage past the piston rings
- Bubbling in the radiator or overflow tank → Head gasket breach into the coolant passage
- Air escaping from the throttle body or intake → Leaking intake valve
- Air from the tailpipe → Leaking exhaust valve
Acceptable leak-down for the MZR 2.3L:
- Under 8%: Excellent
- 8–12%: Acceptable for a high-mileage engine
- 12–20%: Worn but serviceable; monitor
- Over 20% (especially on adjacent cylinders with air heard at the radiator): Confirmed head gasket failure

Diagnostic Procedure 2: Cooling-System Pressure Testing
Tools Required
| Tool | Approximate Cost (USD) |
|---|---|
| Cooling-system pressure tester (radiator cap adapter style) | $40–$90 |
| Combustion leak detector kit (block tester) | $25–$45 |
| UV coolant dye kit (optional but useful) | $15–$30 |
| Flashlight and inspection mirror | $10–$20 |
Step 1: Static Pressure Test
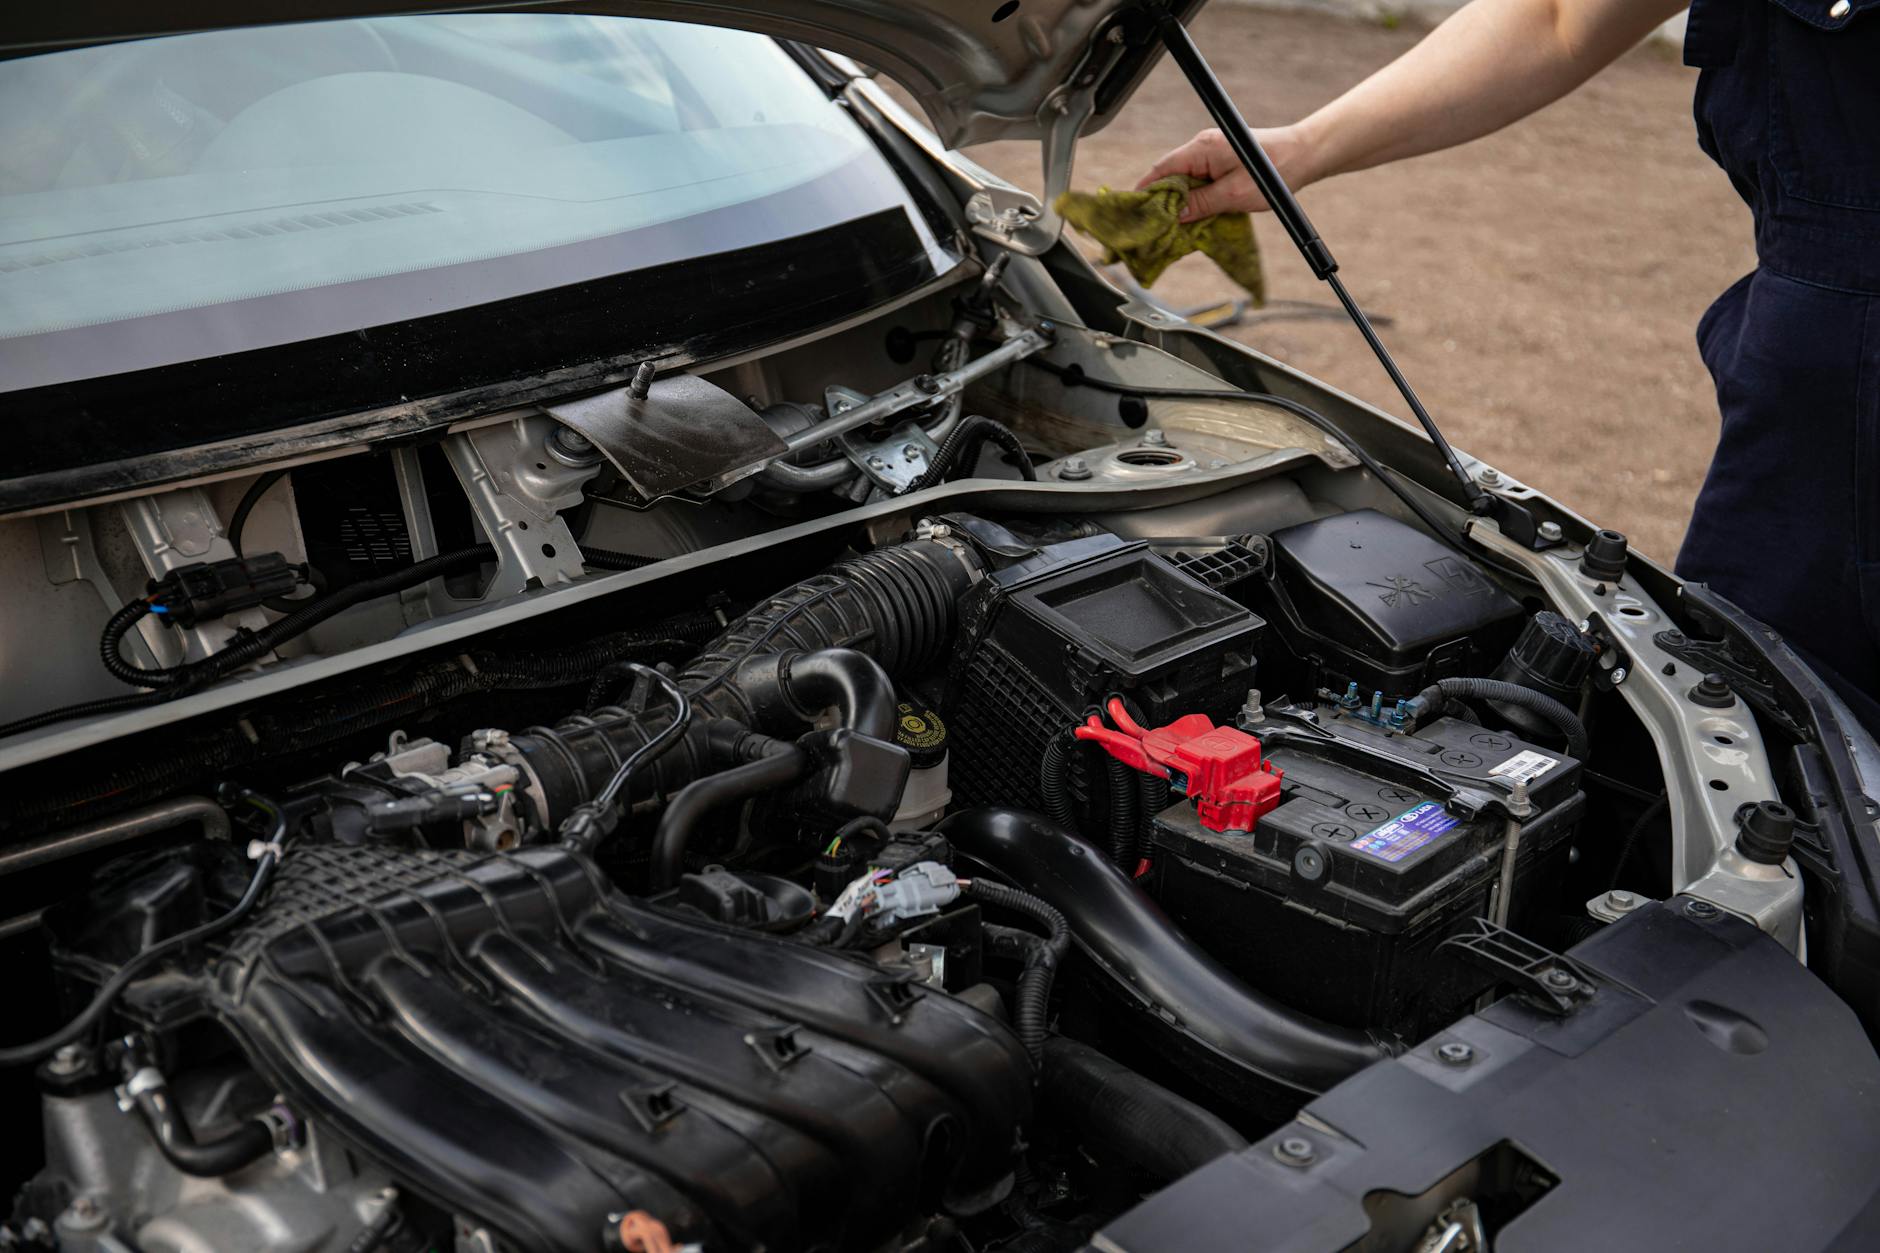
- Ensure the engine is completely cold. Never remove a radiator cap or pressurize a hot cooling system—serious burn risk.
- Remove the radiator cap (or degas bottle cap on later models). Inspect the cap’s rubber seal and spring mechanism. A weak cap can mimic head gasket symptoms. Replacement cap: $8–$15.
- Connect the pressure tester to the radiator neck. Pump the system to 16 PSI (the Mazda6’s radiator cap rating).
- Hold the pressure and watch the gauge for 15 minutes.
- Pressure holds steady: The cooling system is sealed; if you have symptoms, the leak may only manifest under engine vacuum or combustion pressure.
- Pressure drops slowly (1–2 PSI over 15 minutes): Minor leak somewhere—inspect hoses, heater core, radiator seams.
- Pressure drops rapidly (5+ PSI in a few minutes): Significant leak. If no external leak is visible, suspect internal consumption via the head gasket.
Step 2: Combustion Gas Detection (Block Test)
This is the definitive chemical test for head gasket failure. It detects combustion gases in the coolant that simple pressure testing cannot confirm.
- Drain approximately one cup of coolant from the radiator to lower the level below the filler neck.
- Install the block tester’s rubber bulb and chamber into the radiator neck.
- Fill the test chamber with the blue indicating fluid (provided in the kit).
- Start the engine and let it idle. Squeeze the bulb to draw air from the radiator through the fluid.
- Watch the fluid color:
- Stays blue: No combustion gases detected; gasket likely intact.
- Turns yellow/green: Combustion gases are present in the coolant. This is a confirmed head gasket failure.
PRO TIP: “Always verify that your indicating fluid is fresh—it has a shelf life of roughly 12 months once opened. Expired fluid can give false negatives, which is particularly dangerous on an MZR 2.3L where catching the failure early can save the cylinder head from warping beyond machine-shop repair. A new bottle of fluid costs about $8—cheap insurance for an accurate test.”
Step 3: UV Dye Verification (Optional but Definitive)
If pressure testing and block testing produce ambiguous results—possible but rare—add UV-reactive dye to the coolant:
- Pour the dye into the radiator (follow manufacturer’s dosage, typically 1 oz per gallon).
- Drive the vehicle for 50–100 miles under normal conditions.
- Use a UV flashlight to inspect:
- The spark plug wells (glowing green fluid here confirms a gasket leak into the combustion chamber)
- The engine-to-transmission mating surface (indicates a rear-side gasket leak)
- Around the cylinder head perimeter
- The oil dipstick and oil filler cap (glow indicates coolant-oil mixing)

Repair Costs and Decision Framework
Cost Estimates (USD, 2026 National Average)
| Repair Option | Parts | Labor | Total |
|---|---|---|---|
| Head gasket replacement (independent shop) | $250–$400 (gasket set, bolts, coolant, oil) | $900–$1,500 | $1,150–$1,900 |
| Head gasket replacement (Mazda dealer) | $350–$550 (OEM parts) | $1,200–$2,000 | $1,550–$2,550 |
| Cylinder head resurfacing (machine shop) | N/A | $150–$300 | $150–$300 |
| Valve seal replacement (while head is off) | $40–$80 | Included | $40–$80 |
| Water pump replacement (preventative) | $60–$120 | Included (while apart) | $60–$120 |
| DIY head gasket job | $250–$400 | Your time (20–30 hours) | $250–$400 |
Should You Repair or Replace?
We apply a simple framework:
- Vehicle value under $3,000 with confirmed head gasket failure: A used or remanufactured JDM MZR 2.3L long block ($800–$1,400 plus $500–$800 installation) may be more cost-effective than a head gasket job—especially if the existing engine has high mileage, oil consumption, or timing chain noise.
- Vehicle value $3,000–$6,000: Head gasket replacement makes economic sense, particularly if the rest of the car is clean and well-maintained.
- Vehicle value over $6,000 or strong sentimental value: Full head gasket job with cylinder head inspection, new timing chain and tensioner, water pump, and all seals. Budget $2,000–$3,000 for a comprehensive job.
The Cylinder Head Wildcard
The MZR 2.3L’s aluminum cylinder head can warp when overheated. Any reputable shop will send the head to a machine shop for:
- Flatness check (maximum allowable warpage: 0.002” / 0.05 mm over the full length)
- Pressure testing for internal cracks
- Valve seat inspection
If the head is warped beyond resurfacing limits, you’ll need a replacement head ($400–$800 used, $700–$1,200 remanufactured), which significantly increases the total repair cost.
Preventive Measures: Protecting the Gasket You Have
Whether your gasket is healthy or you’ve just completed a repair, these practices dramatically extend head gasket life on the MZR 2.3L:
-
Use FL22-spec coolant exclusively. Mazda’s FL22 formula is phosphate-free and specifically formulated for aluminum engines. Mixing it with conventional green coolant accelerates corrosion. A full drain-and-fill with FL22 costs $40–$60 in parts.
-
Replace the radiator cap every 60,000 miles. A cap that fails to maintain rated pressure (16 PSI) allows the coolant to boil at a lower temperature, creating localized hot spots around the combustion chambers.
-
Flush the cooling system every 30,000 miles or 3 years. Contaminated coolant loses its anti-corrosion properties and becomes slightly acidic, eating at the gasket’s steel layers from the water jacket side.
-
Address overheating immediately. If the temperature gauge ever climbs above normal, pull over and shut the engine down. Driving even a few miles with an overheated MZR can warp the head past the point of repair.
-
Inspect the water pump weep hole during every oil change. The MZR’s water pump is driven by the timing chain, and a failing pump can dump coolant into the oil pan—mimicking and accelerating head gasket symptoms.

Summary and Frequently Asked Questions
Quick-Reference Diagnostic Checklist
| Test | What It Tells You | Pass Result | Fail Result |
|---|---|---|---|
| Visual spark plug inspection | Steam-cleaned plug = coolant in cylinder | All plugs normal tan/brown | One or two white/steam-cleaned plugs |
| Compression test | Cylinder sealing ability | 175–210 PSI, ≤10% variation | Adjacent cylinders 40+ PSI below others |
| Leak-down test | Location of pressure loss | Under 8% leakage | Over 12% with air heard at radiator |
| Cooling-system pressure hold | External vs. internal leak | Holds 16 PSI for 15 min | Rapid pressure drop, no visible external leak |
| Block test (combustion gas) | Combustion gases in coolant | Fluid stays blue | Fluid turns yellow/green |
FAQ
Q: Can I drive my Mazda6 with a suspected blown head gasket? A: Only directly to a repair facility. Driving with a compromised head gasket risks warping the cylinder head beyond repair, contaminating the engine oil with coolant (which destroys bearing surfaces), and catastrophic overheating. The cost of a tow ($100–$200) is trivial compared to a replacement engine ($2,000–$3,500).
Q: Will a “head gasket sealer” product work as a permanent fix? A: On the MZR 2.3L, we consider sealers a temporary emergency measure at best—not a repair. The MLS gasket design and the pressures involved in this engine mean that most sealers break down within 3,000–5,000 miles. They can also clog the radiator, heater core, and coolant passages in the cylinder head, turning a $1,500 repair into a $3,000+ problem. Use them only to get the car to a shop.
Q: How long does a properly done head gasket job last on this engine? A: When performed correctly—with a resurfaced head, new OEM head bolts (they’re torque-to-yield and must be replaced), proper torque sequence, and fresh FL22 coolant—a head gasket replacement on the MZR 2.3L should last the remaining life of the engine. We’ve seen repairs go 100,000+ miles without issue.
Q: My Mazda6 is losing coolant but passed all the tests. What else could it be? A: Check the heater core (look for damp carpet under the dashboard on the passenger side), the radiator side tanks (look for pink/white crust along the seams), the water pump weep hole, and the coolant reservoir itself (they can develop hairline cracks). A slow external leak is far preferable to a head gasket issue.
Q: Are the turbocharged 2.3L DISI engines (CX-7, Mazdaspeed3) more prone to this failure? A: Yes, significantly. The turbocharged L3-VDT variant runs higher cylinder pressures and temperatures, making head gasket failure more common and often earlier in the car’s life. The diagnostic procedures are identical, but the stakes are higher—boost pressure will exploit even a tiny gasket compromise very quickly.
The 2.3L MZR in the 2004–2008 Mazda6 is a solid, willing engine that responds well to attentive ownership. Catching head gasket deterioration early—through the visual checks, compression testing, and cooling-system pressure testing we’ve outlined here—can mean the difference between a manageable $1,500 repair and a catastrophic $3,500 engine replacement. Run these diagnostics at the first sign of trouble, maintain your cooling system religiously, and this engine will reward you with many more miles of dependable service.