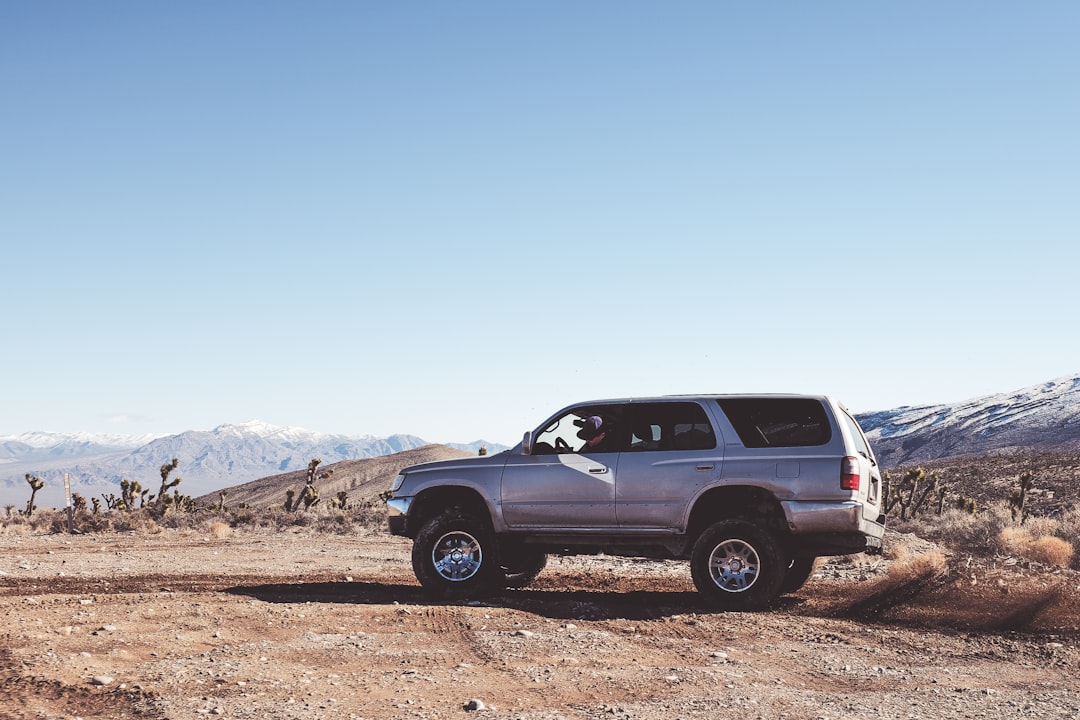
Troubleshooting Intermittent Dashboard Cracking in 2003–2009 Toyota 4Runner and FJ Cruiser Interiors

If you own a 2003–2009 Toyota 4Runner or a 2007–2009 FJ Cruiser, you already know the sound — that faint tick on a hot afternoon, followed by the sickening realization that another hairline fracture has appeared across your dashboard. What starts as a tiny stress line near the defrost vent can quickly spider-web into a network of cracks that makes your interior look decades older than it should.
We’ve spent years following this issue across owner forums, independent Toyota specialists, and our own long-term fleet vehicles. The good news? Dashboard cracking on these platforms is well-documented, largely preventable going forward, and — depending on severity — repairable without necessarily spending thousands at a dealership. Here’s our complete diagnostic and repair guide.
Why These Dashboards Crack: The Root Causes
Toyota used a specific vinyl compound on the fourth-generation 4Runner (2003–2009) and early FJ Cruiser (2007–2009) dashboards that, while durable in moderate climates, is exceptionally vulnerable to three compounding factors:
UV Radiation Damage
The number-one culprit. The top surface of the dashboard receives concentrated ultraviolet exposure through the windshield — especially in Sun Belt states, the Middle East, and tropical regions. UV rays break down the plasticizers in the vinyl, causing the material to lose elasticity and become brittle over time. Once the vinyl can no longer flex with temperature changes, cracking is inevitable.
Extreme Temperature Cycling
These vehicles operate in environments where interior temperatures can swing from −20°F overnight to 160°F+ inside a parked cabin under direct sun within hours. The vinyl substrate and the foam structure beneath expand and contract at different rates, creating internal stress. After thousands of cycles, the surface layer surrenders.
Material Composition Flaws
Toyota’s dashboard formulation for this era used a thinner-than-ideal vinyl skin over a rigid foam core. Compared to earlier 4Runner generations (which used thicker, more pliable materials), the 2003–2009 dash panels have less structural margin before cracking initiates. The areas around the defrost vents, speaker grilles, and the passenger airbag cover are particularly thin and stress-concentrated.
PRO TIP: Dashboards on vehicles that were garaged regularly or treated with UV protectant from new typically show cracking 3–5 years later than unprotected, sun-baked examples. Prevention is dramatically cheaper than cure.
Affected Components: What to Inspect
The cracking isn’t random — it follows predictable patterns based on the dashboard’s structural design. Here’s a component-by-component breakdown of what fails and where to look:

Main Dashboard Pad (Driver and Passenger Side)
- Defrost Vent Area: The long vent spanning the base of the windshield is the most common failure zone. Cracks radiate outward from the vent slats.
- Top Surface Center Section: Large, flat expanses between the instrument cluster hood and the passenger side develop longitudinal cracks running parallel to the windshield.
- Instrument Cluster Hood: The raised cowl covering the gauges frequently cracks along its upper ridge, where the material thins to wrap around the cluster opening.
Passenger Airbag Cover
This is a critical safety component. The airbag door is designed to split along a engineered seam during deployment. Cracking near this seam is common but potentially dangerous — premature deterioration could affect airbag deployment performance. Inspect this area carefully.
Glove Box Door and Surrounding Trim
While not the dashboard pad itself, the glove box door’s vinyl covering can delaminate and crack at the edges. The trim pieces flanking the glove box are also prone.
A-Pillar Trim and Windshield Header
Often overlooked, the vinyl-covered A-pillar trim panels and the header panel above the windshield can develop cracks that connect to the main dashboard, creating an integrated failure network.
Comprehensive Self-Inspection Checklist
Before you decide on a repair strategy, conduct a thorough inspection. We recommend doing this in bright, angled light (early morning or late afternoon sun through the windshield is ideal) so you can catch hairline fractures before they spread.
Print this checklist and work through it systematically:
Visual Inspection
- Defrost Vent Slats — Run your fingertip along each slat. Feel for raised edges or roughness indicating an initiating crack.
- Top Surface — Driver Side — Look for cracks running front-to-back (toward windshield). Use a bright flashlight at a low angle.
- Top Surface — Center — Check for spider-webbing or star-pattern cracking.
- Top Surface — Passenger Side — Especially the flat area above and behind the glove box.
- Instrument Cluster Hood — Inspect the upper ridge and both sides of the cowl.
- Passenger Airbag Door — Look for any cracking near the embossed “SRS AIRBAG” marking or along the deployment seam. If you find cracks here, consult a Toyota dealer immediately.
- Speaker Grille Area — Check the small grille openings on the dash surface for cracking radiating from the cutouts.
- A-Pillar Trim Panels — Both sides, particularly the lower 6 inches near the dashboard junction.
- Windshield Header Panel — The strip running along the top of the windshield opening.
- Glove Box Door Surface — Open the glove box and inspect the outer vinyl for edge cracking or delamination.
Physical Inspection
- Press Test — Gently press on the dashboard surface in several locations. Soft, spongy areas indicate foam core degradation beneath the vinyl.
- Flex Test — With the vehicle in a warm environment, gently flex the defrost vent area. Excessive stiffness means the vinyl has lost plasticity.
- Adhesion Check — At any crack site, try lifting the vinyl edge slightly. If it separates easily from the foam underneath, the adhesive bond has failed — a sign of advanced heat damage.
PRO TIP: Photograph every crack you find, preferably with a ruler or coin for scale. These photos serve as a baseline to monitor crack progression over time. What looks stable today may spread rapidly after a harsh summer.
Repair Options: From Budget to Premium
Based on the severity of your cracking and your budget, there are four main repair paths. Here’s what each involves, roughly what you’ll spend, and our honest assessment of the results.
Option 1: Dashboard Cover Overlay ($40–$120)
The quickest and most affordable fix. A molded dashboard cover (often sold as a “dash cap”) sits directly over your cracked dashboard, hiding the damage and providing a fresh, smooth surface.
Installation Steps:
- Clean the existing dashboard thoroughly with a vinyl-safe cleaner (we recommend Meguiar’s D180 or equivalent). Remove all dust, Armor All-type products, and residue.
- Test-fit the dash cover before applying any adhesive. Most covers are vehicle-specific molded ABS or carpet-lined plastic. Ensure it sits flat and doesn’t interfere with the defrost vents.
- Apply the included adhesive strips or silicone adhesive to the underside of the cover. Focus adhesive on flat, stable areas of the original dash — not on cracked or spongy sections.
- Press firmly and hold for 60 seconds at each adhesive point. Allow 24 hours for full curing before driving.
Pros: Affordable, fast (30-minute install), reversibility.
Cons: Doesn’t address underlying cracking; adds a slight raised edge near the windshield; covers the defrost vent geometry (most covers have their own vent slots).
Option 2: Vinyl Repair Kit — Fill and Color Match ($25–$80)
For small-to-moderate cracks (under 6 inches), a vinyl repair kit can produce surprisingly acceptable results. The process involves filling cracks with a heat-cured vinyl compound and blending the color to match.
Step-by-Step Procedure:
- Clean the crack area with isopropyl alcohol. Remove any loose vinyl flakes.
- Use the included heating tool (most kits include a small electric heating element) or a standard clothes iron on low heat.
- Apply the vinyl compound into the crack using the grain-textured applicator. Work in thin layers rather than one thick fill.
- Heat-cure each layer for 30–60 seconds until the compound bonds with the surrounding vinyl. The compound changes from glossy to matte when properly cured.
- Apply the color-matched compound (most kits include a mixing guide — Toyota’s dashboards from this era typically match their “Medium Gray” or “Charcoal” codes).
- Blend the repair by feathering the edges with the grain-textured pad while heated.
- Apply a final UV-protectant coating over the repaired area.
PRO TIP: Practice on a scrap piece of vinyl or an inconspicuous area first. The heat-curing technique takes a feel — too little heat and the compound won’t bond; too much and you’ll melt the surrounding vinyl. A temperature-controlled iron set to roughly 250°F gives you the most control.
Pros: Preserves original dashboard contour; affordable; good for minor cracks.
Cons: Time-consuming; results vary with skill level; not suitable for large or structural cracks.
Option 3: Professional Dashboard Repair ($250–$600)
Mobile dashboard repair specialists can rebuild cracked areas with professional-grade materials. They typically use two-part epoxy fillers, color-matched vinyl coatings, and textured finishes that closely replicate the factory grain.
This is the best middle-ground option for moderate cracking that a DIY kit can’t handle but doesn’t justify a full replacement. Most repairs take 2–4 hours and can be done at your home or workplace.
What to ask the technician:
- Do they guarantee against re-cracking (many offer 1–2 year warranties)?
- What material system do they use (epoxy-based, polyurethane-based)?
- Can they match the specific grain texture of your year/model?
Option 4: Full Dashboard Replacement ($1,200–$2,800)
The definitive fix — but also the most expensive and labor-intensive. A complete dashboard replacement involves removing the old pad (often requiring windshield removal for proper access on these models), installing a new or refurbished unit, and reassembling the interior.
Labor Breakdown:
| Task | Time | Typical Cost |
|---|---|---|
| Dashboard removal (including trim, airbags, HVAC) | 4–6 hours | $400–$700 |
| New OEM or aftermarket dashboard pad | — | $600–$1,400 |
| Windshield R&R (if required for access) | 1–2 hours | $150–$300 |
| Reassembly and system check | 2–3 hours | $200–$400 |
| Total | 8–12 hours | $1,200–$2,800 |
Important: After any dashboard replacement involving the passenger airbag, the airbag system must be recalibrated and tested by a qualified technician. Never shortcut this step.

UV-Protection Strategies: Preventing Future Damage
Whether you’ve just repaired your dashboard or you’re trying to protect an uncracked survivor, UV protection is the single most important ongoing maintenance you can perform.
Use a Quality UV Protectant — Correctly
Not all “dashboard protectants” are created equal. Many off-the-shelf products (we’re looking at you, traditional Armor All) contain petroleum distillates and silicone oils that create a glossy shine but can actually accelerate vinyl degradation over time by trapping heat and attracting dust that acts as a mild abrasive.
What to use instead:
- 303 UV Protectant — The gold standard among detailing professionals. Contains UV-blocking agents without harmful solvents. Apply every 4–6 weeks.
- Optimum Protectant Plus — Combines UV protection with mild cleaning agents. Good for monthly application.
- CarPro DLux — A ceramic-based coating that provides months of UV protection in a single application. More expensive but longest-lasting option.
Application technique matters:
- Clean the dashboard first with a dedicated vinyl cleaner (not a protectant/cleaner combo product).
- Spray the protectant onto a microfiber applicator pad — never directly onto the dashboard.
- Wipe in even, straight passes. Avoid saturating the surface.
- Allow 10–15 minutes to absorb, then buff lightly with a clean, dry microfiber towel.
Windshield Sun Shade
A fitted, reflective sun shade is the cheapest and most effective single investment you can make. Look for one specifically designed for the 4Runner or FJ Cruiser windshield shape — generic shades leave gaps that let UV through.
- Cost: $15–$40
- Effectiveness: Reduces dashboard surface temperature by 40–60°F and blocks ~99% of direct UV radiation.
- Best practice: Deploy it every single time you park in the sun, even for short stops.
Window Tinting
A high-quality ceramic window tint on the windshield (check your local regulations — many jurisdictions allow a strip across the top) and side windows dramatically reduces UV transmission. Ceramic films block up to 99.9% of UV rays and 60–80% of infrared heat without significantly darkening visibility.
- Cost: $200–$600 for a full vehicle (windshield strip + all side and rear windows).
- Expected lifespan: 5–10 years depending on film quality.
Parking Strategy
The simplest prevention costs nothing. Park in shade whenever possible — under trees, in garages, or on the shaded side of buildings. When no shade is available, park with the windshield facing away from direct afternoon sun (typically facing north in the Northern Hemisphere).
PRO TIP: If you live in a high-UV region (Arizona, Nevada, Texas, the Middle East, Australia), consider having a dashboard cover installed even on an uncracked dash. It’s a $60–$100 insurance policy against a $2,000+ replacement bill. The cover takes the UV hit while your original vinyl stays protected underneath.
Long-Term Maintenance Schedule
To keep your dashboard — repaired or original — in the best possible condition, follow this maintenance calendar:
| Interval | Action |
|---|---|
| Weekly | Quick visual scan for new cracks; wipe dust with a dry microfiber cloth |
| Monthly | Clean with vinyl-safe cleaner; apply UV protectant |
| Quarterly | Detailed inspection using the checklist above; photograph any existing cracks to track progression |
| Annually | Assess overall dashboard condition; decide if professional intervention is needed; replace sun shade if reflective coating is degrading |
Frequently Asked Questions
Did Toyota issue a recall or TSB for dashboard cracking on these models?
No. Toyota did not issue a formal recall or Technical Service Bulletin specifically for dashboard cracking on the 2003–2009 4Runner or FJ Cruiser. The issue is considered a cosmetic/wear condition rather than a safety defect — with the exception of cracking near the passenger airbag cover, which could potentially affect airbag deployment and should be evaluated by a dealer.
Can I just ignore the cracks?
You can, but we wouldn’t recommend it. Small cracks tend to propagate, especially under continued UV and thermal stress. A hairline crack today can become a 12-inch gash after a harsh summer. Once cracks widen, the foam core beneath becomes exposed, absorbs moisture, and degrades further — making eventual repair more expensive.
Is a used dashboard from a salvage yard a good option?
It can be, but inspect it very carefully. Many salvage dashboards come from vehicles in similar climates and may already have latent cracking that isn’t immediately visible. A better option is a new aftermarket dashboard pad from a reputable supplier (companies like OE Solutions and Dash Designs manufacture replacement pads specifically for these Toyota models). Budget $500–$900 for the part alone.
Will a dashboard cover affect my airbag deployment?
A properly fitted dashboard cover designed for your specific model should not interfere with airbag deployment. Quality covers include precut channels that align with the airbag deployment seams. However, cheap universal covers or improperly installed adhesive can potentially obstruct the airbag door. Always buy model-specific covers and follow installation instructions precisely.
How long does a vinyl repair kit fix typically last?
On a dashboard that’s protected from UV (sun shade, regular protectant application, garaged parking), a quality vinyl repair can last 2–5 years. On an unprotected dashboard in a sunny climate, expect 6–18 months before the repair area or an adjacent section cracks again. UV protection is the determining factor.
Final Verdict
Dashboard cracking on the 2003–2009 Toyota 4Runner and 2007–2009 FJ Cruiser is one of the most frustrating cosmetic flaws on otherwise bulletproof vehicles. The root cause — a UV-sensitive vinyl formulation combined with large, sun-facing surface area — is well understood, and the repair options range from a $40 weekend cover-up to a $2,500 full replacement.
Our recommendation for most owners falls in the middle: address active cracks with a professional repair ($300–$500), then invest aggressively in UV protection (sun shade, quality protectant, and ceramic tint). This approach manages the problem cost-effectively while preventing further damage.
These Toyotas are among the most capable and reliable SUVs of their era. Don’t let a cracked dashboard detract from the ownership experience — with the right approach, your interior can look great for another decade of adventure.